We’ve got a beta license of new X-cart POS module and I want to share my findings. This is not a manual on how to install or use the module – I’ll post a link to that document at the bottom.
What is POS module?
POS (Point-of-Sale) module allows you to take in-store/walk-in orders using your e-commerce store database and keep products, orders and customers in one single location which greatly simplifies your inventory management. This is an alternative to Microsoft RMS and similar systems which are expensive and complicated to run and integrate. If you run retail and online stores for your business, you know how much time this will save you and that module awaited by thousands of X-cart users for a long time. Well, it’s almost here.
Installation
Installation of the module into X-cart v5 took 15 min – download, upload, click a button to load module to the list – done. It will probably be already in the list when module is officially released but even beta version was not too hard to install.
Configuration
Basic module configuration has only 3 fields:
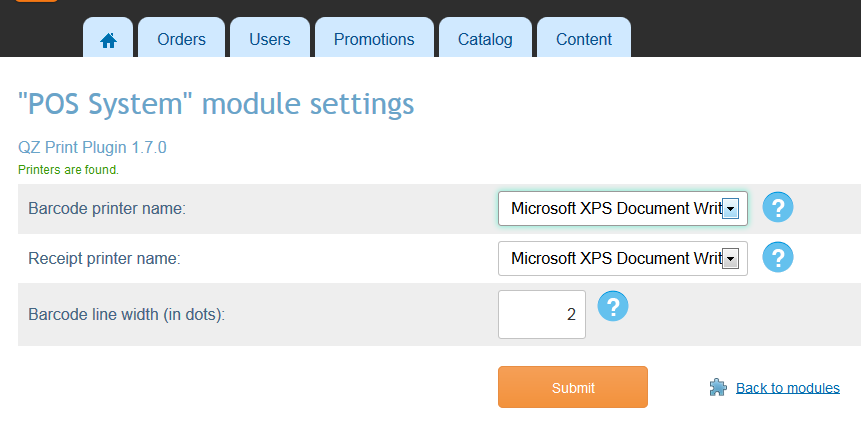
POS module was tested with hardware below:
- Motorola LS2208-SR20007NA Barcode Scanner
- Citizen CT-S310II-U-BK Receipt Printer
- Zebra 282P-201110-000 Barcode Printer
- Zebra 10010038 Barcode Label
- BCIRPT3.125-STD Receipt Paper
but will probably work with most barcode scanners and printers. Not much to configure here – just select your printer and submit to save.
The only problem I encountered on this page was Java security warnings. Took me some time to figure out how to fix it. And I found the instructions later (I probably should read the manual first). Instructions are here: QZ Print applet related configuration
You may need to ask your IT guy to install java certificate on the computers which will be using this module or, if you are Finestshops client, we can install it for you remotely.
Preparing products for use with X-cart POS module
After module is installed, each product in the store gets a new UPC field to enter item UPC code, I’m sure the codes can be imported from csv file but we did not have a chance to test it:

Using POS module
I’m for “keeping it simple” approach and using X-cart POS module is as simple as it can possibly be. After module is enabled in admin, you assign POS permissions to a staff user so he/she will see new “Checkout POS” button on store home page (standard visitors to your store will not see this option):

Clicking on that button will open shopping cart page on which you can add items to shopping cart by scanning bar codes or entering UPC code:
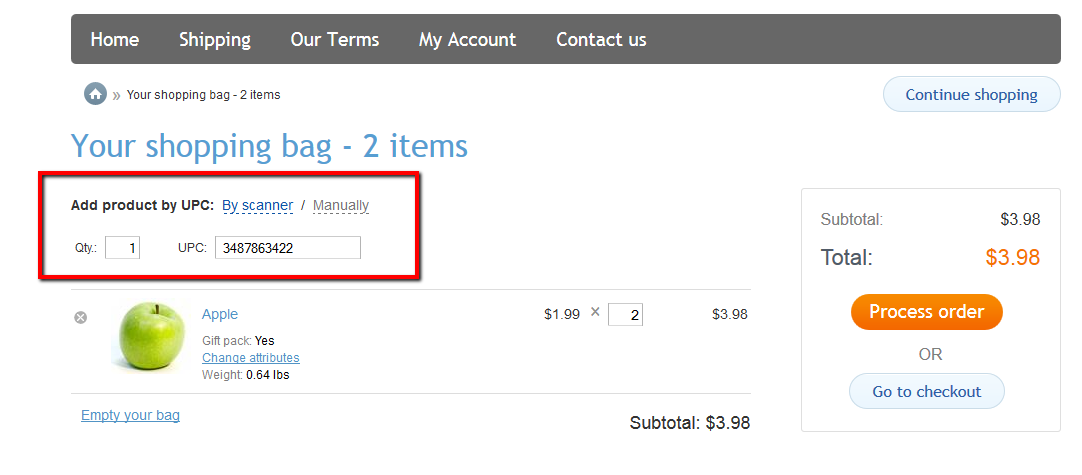
When all items customer wants are in the bag – take the payment from customer and click “Process order”.
Note: this module assumes your staff is able to count cash and have a separate terminal to process credit and debit cards – it will not take payments for you. Theoretically, you can click “Go to checkout” button and process order as online customer would do by entering customer’s name, address and credit card in online checkout, but, as I know, some payment providers set you up with “card not present” type of merchant account and prohibit merchants to enter customer’s credit card manually – you have to use a different “card present” type of terminal for this. If you want to enter customer’s credit cards online, consult with your payment gateway and merchant account provider first.
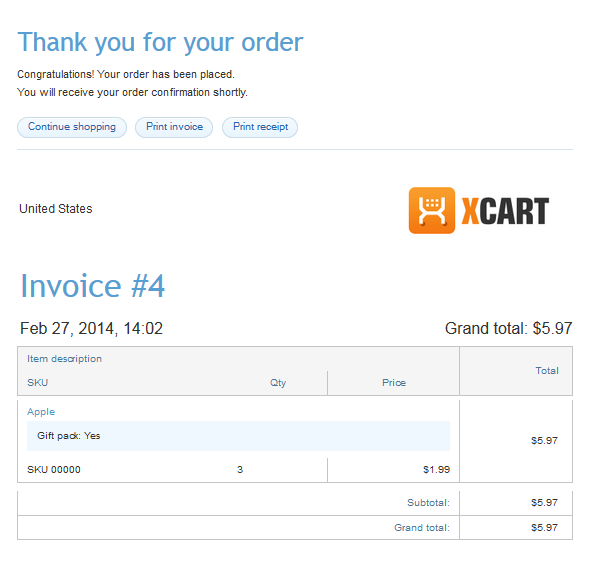
After you click “Process order” you will get a “Thank you” page with a button to print invoice or receipt.
Nicely done X-cart!
Documentation: http://help.x-cart.com/index.php?title=X-Cart:POS_system_for_X-Cart
FinestShops manages your online store and server like your own dedicated IT department so you and your staff can concentrate on growing your sales and serving your customers. Contact us if you consider upgrading your outdated online store to our premium managed e-commerce package at Rackspace datacenter (available locations: US, Europe, Australia).
To your success!
Anton Pachkine
FinestShops E-Commerce Management
Hosting | Customizations | Design | Marketing
www.finestshops.com | 1(800)675-0162 ext 704
